If you keep scraping and repainting the bottom edge of exterior trim, you’re not dealing with a “bad paint job.” You’re dealing with water. In Washington, that bottom inch of trim gets hit from every angle: rain running down the wall, splashback from the ground, and moisture that wicks up into the end grain.
Paint fails there first because that spot stays wet longer than the rest of the board. Once the fibers start swelling and drying in cycles, paint loses its grip. After that, caulk cracks, water finds the gap, and rot starts working behind the surface.
Why this happens
Splashback and bounce
When rain hits hard ground, gravel, or a concrete walk, it splashes up. The bottom edge of trim gets peppered over and over. If you see dirty stripes at the bottom of trim or siding, that’s splashback doing its thing.
Soil or mulch too close
Wood trim needs clearance. When the bottom edge is tight to soil, mulch, or landscaping beds, it stays damp. That trapped moisture feeds decay. Sometimes the trim is “floating” just above the soil, but it’s still close enough that the bottom edge never dries.
End grain is a sponge
Wood drinks water through end grain. The bottom of trim boards is often cut square, then painted like any other surface. That’s not enough. If the end grain wasn’t sealed properly (or the paint seal broke), water soaks in fast.
Water coming from above
Lots of rot at the bottom starts with a problem up top:
- Overflowing gutters dumping water down the face
- A leaky downspout joint
- Missing kickout flashing where a roof meets a wall
- A window or door detail that drains onto trim
If you fix the trim but ignore the water path, the paint will fail again.
What you can look for in 10 minutes
Walk the house with a screwdriver and your eyes. You’re not trying to punch holes—just probing and looking for patterns.
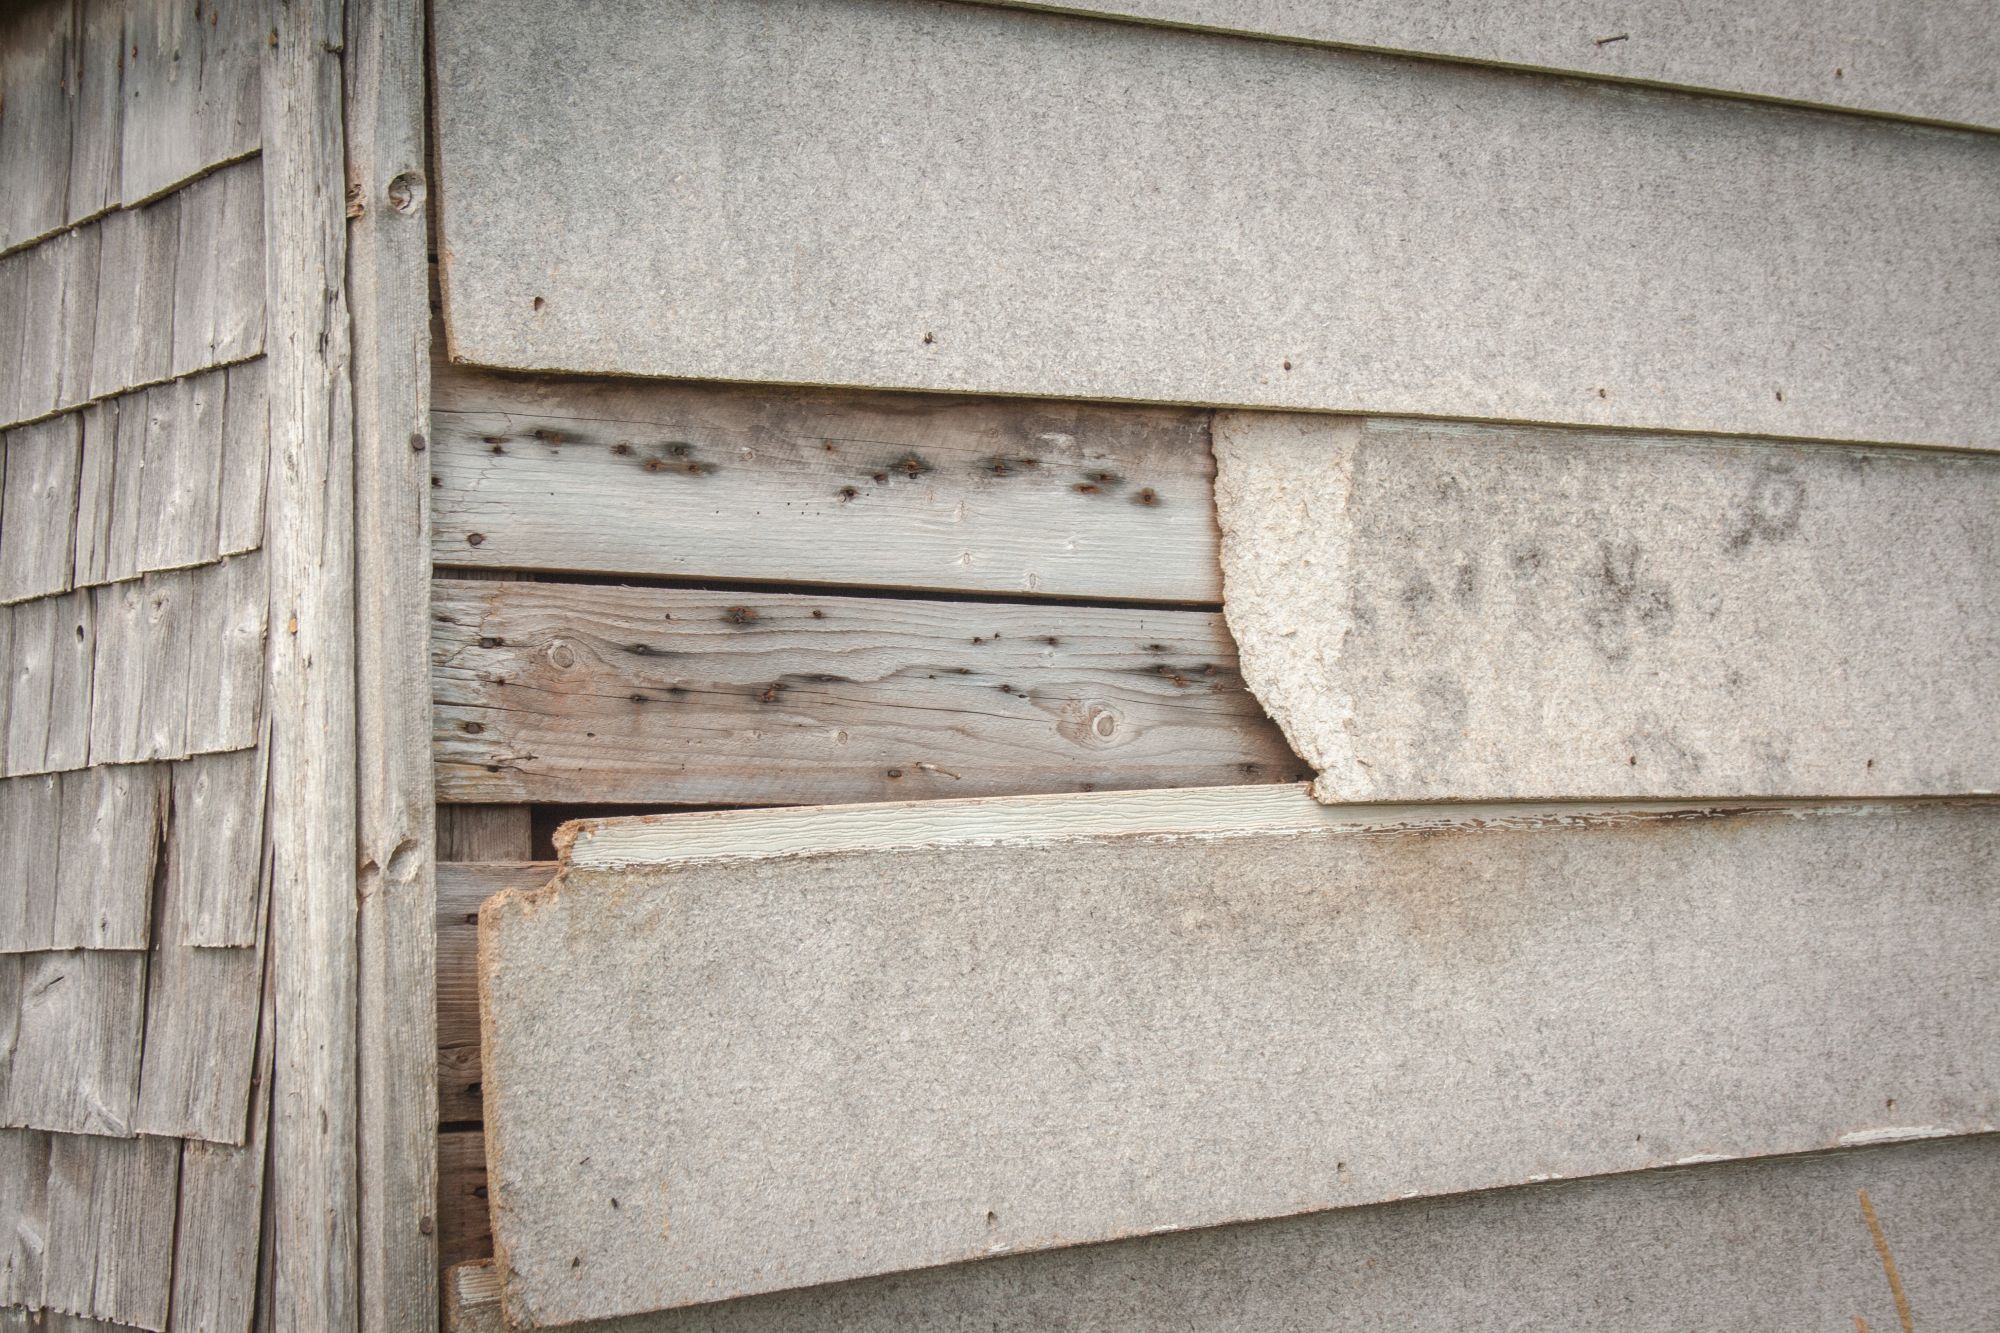
- Softness at the bottom corners. Push gently with the tip. If it dents or flakes, the damage is deeper than paint.
- Swelling or a “fat” look. Trim that looks slightly rounded at the bottom has already taken on water.
- Cracked caulk lines. Gaps at joints and corners are an open door for water.
- Dark staining or algae. Green or black growth near the bottom edge usually means it stays wet.
- Fastener rust stains. Rust streaks can mean water is sitting behind the paint film.
If you see any of those signs, you’re in the territory of siding and exterior repairs instead of “just repainting.”
The fix we use on trim that keeps failing
I’m a licensed home inspector. I don’t like guessing, and I don’t like patching over rot. When we see recurring paint failure at the bottom of trim, our approach is simple and methodical.
Probe
We test the trim and the nearby siding for softness and swelling. We also check the usual sources: gutters, downspouts, roof-to-wall areas, and window corners.
Open
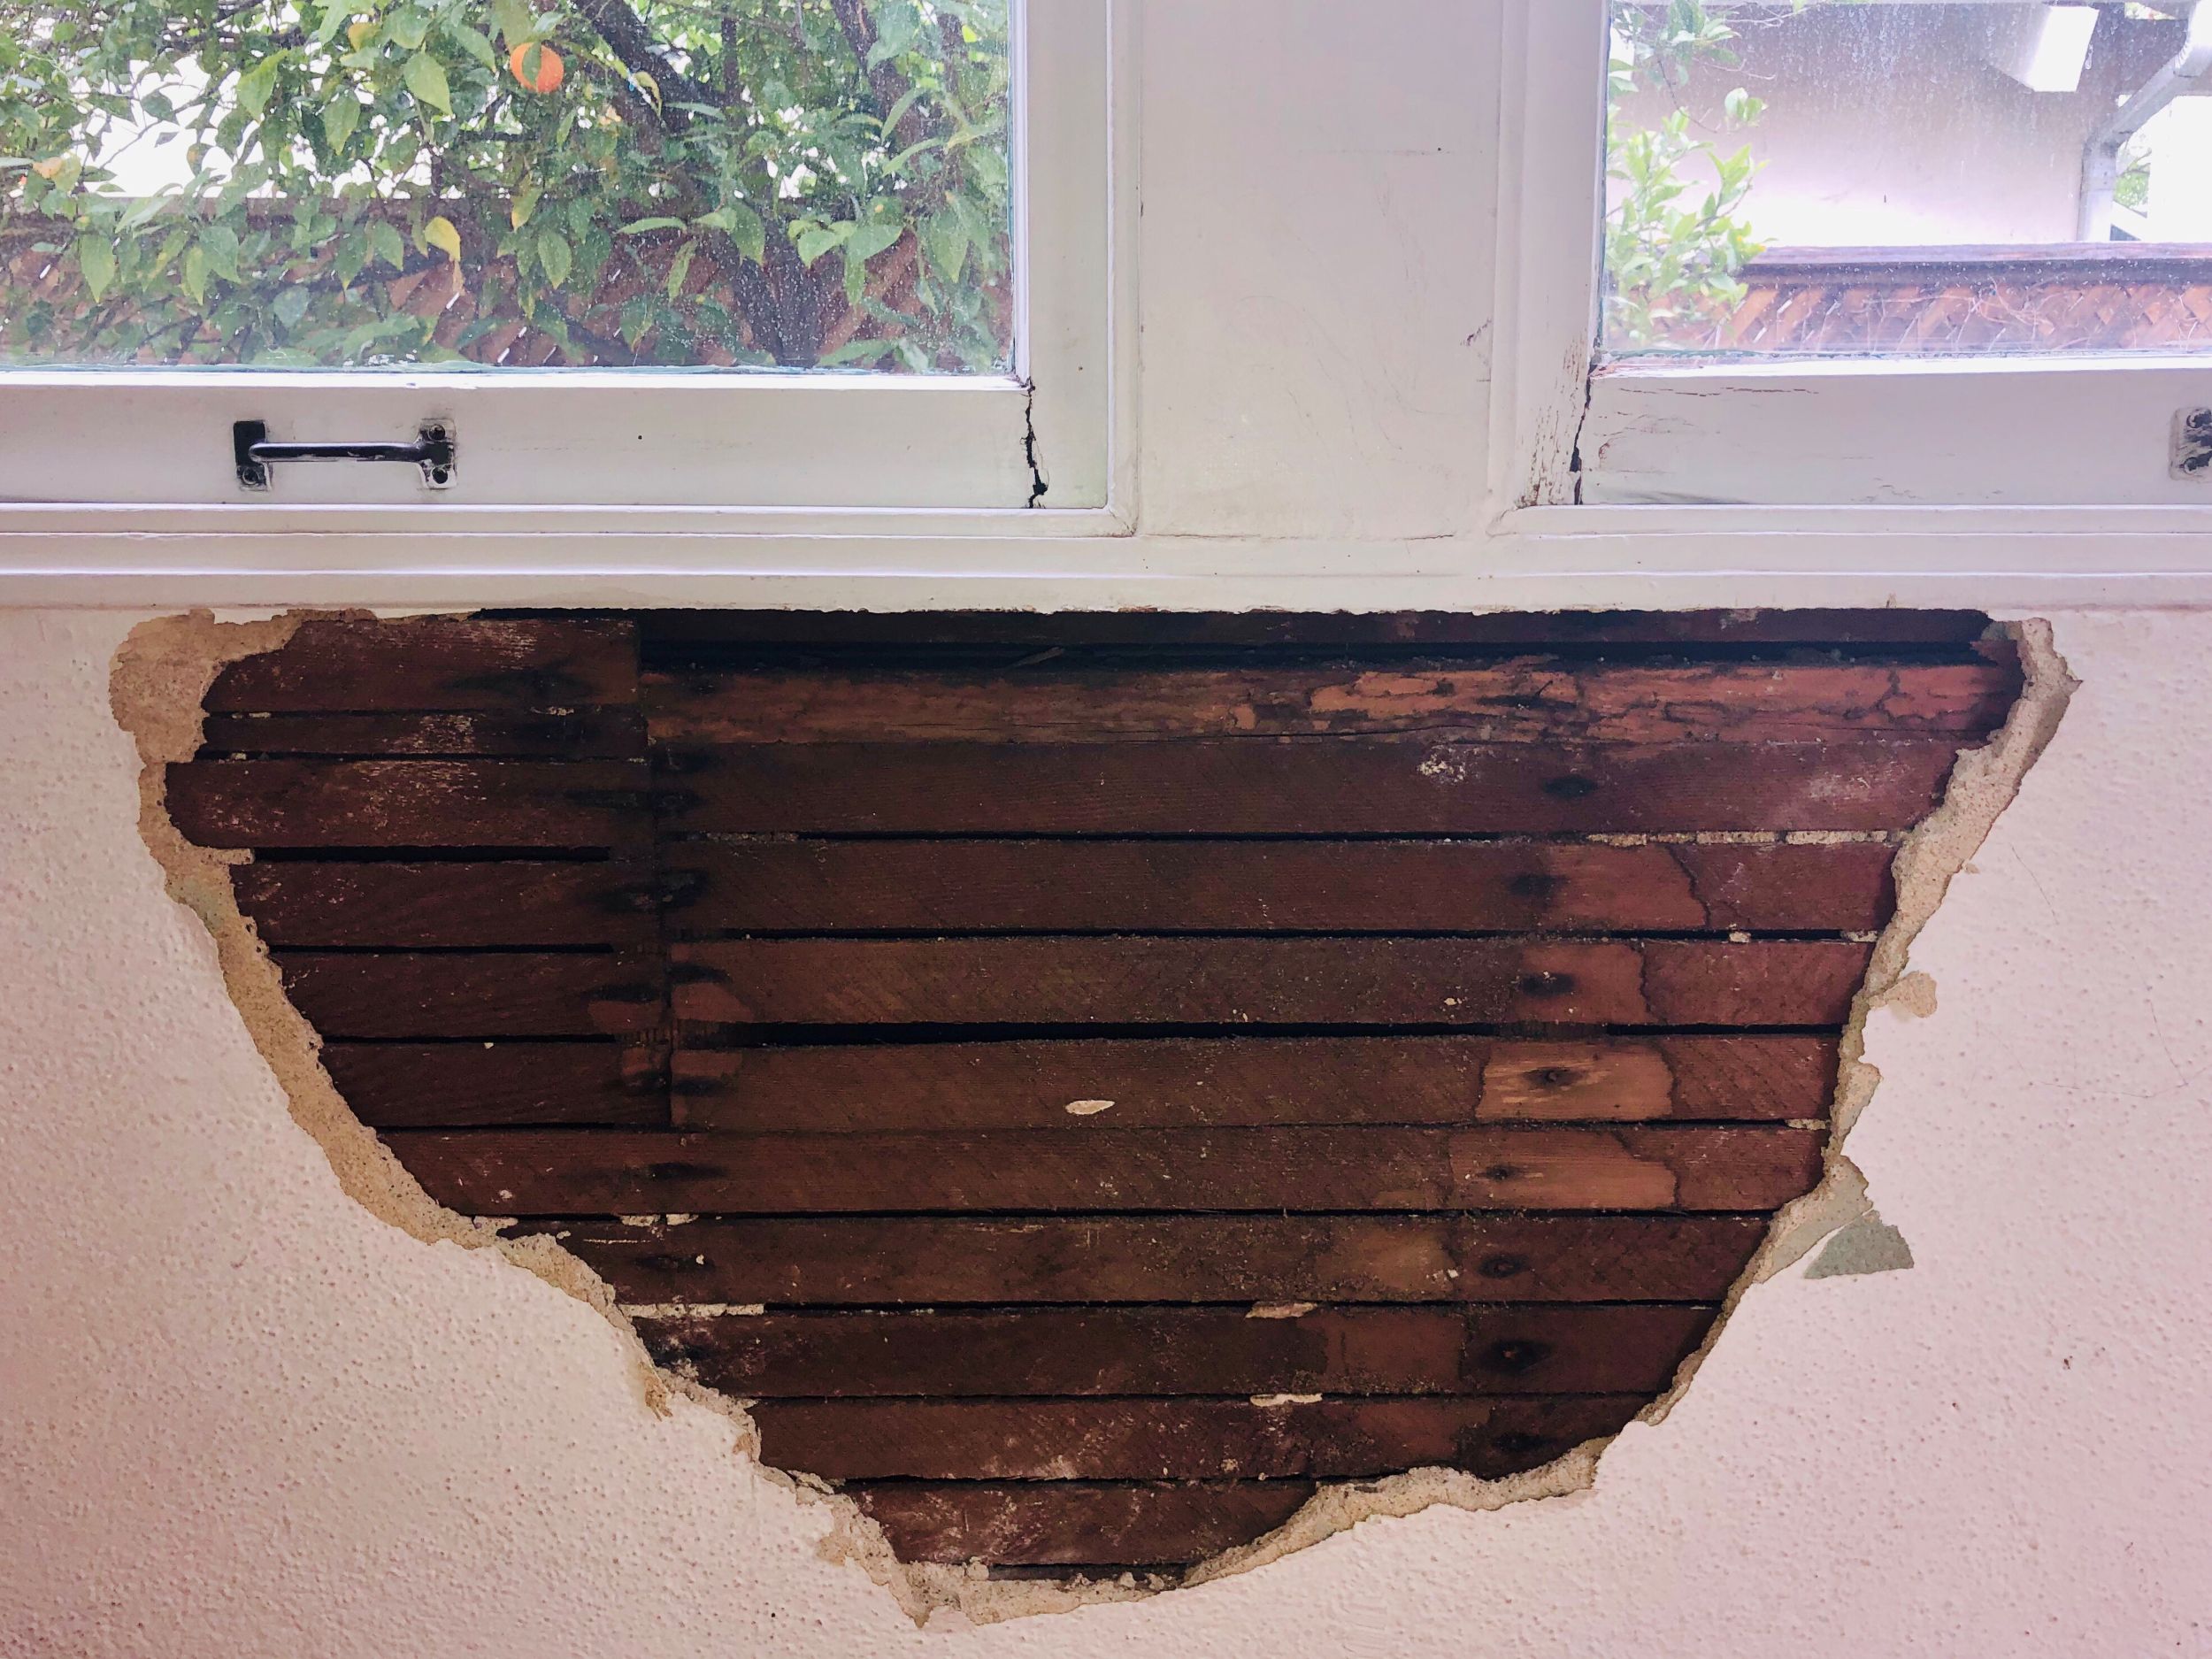
If the trim is soft, we open the area enough to see what’s going on behind it. Rot doesn’t respect paint lines. If we can’t see the back side, we can’t know the real extent.
Remove
We remove decayed trim and any compromised backing. If the sheathing or framing has started to go, we address that too. This is where small rot repairs stay small—catch it early and you avoid bigger structural work.
For rot issues, this often becomes a targeted dry rot repair rather than a full exterior tear-off.
Replace
We install sound replacement material and match profiles where possible. Then we correct the detail that caused the problem:
- Restore clearance to soil or hard surfaces
- Add or adjust flashing where water is being directed wrong
- Improve drainage so water doesn’t get trapped at joints
Prime
This part matters. We prime all faces that should be sealed, especially cut ends and end grain. The goal is to keep water from wicking into the board.
We also caulk the right joints. Caulk is not a waterproofing system. It’s a seal at specific transitions. If you’re trying to “caulk your way out” of missing flashing or poor drainage, it won’t last.
Why repainting keeps wasting your time
If the bottom edge keeps failing, there’s usually hidden moisture in the wood. Paint might look better for a season, but the board is still cycling wet-to-dry, and the paint film will lift again.
There’s also a cost problem: repeated prep and repainting isn’t cheap once you add up labor, ladders, and materials. A small trim replacement with the drainage corrected can be the cheaper path over the next few years.
When to call us
If the trim is soft, swollen, or cracking at the bottom edge, send a few photos and we’ll tell you what we think you’re dealing with. Wide shot plus a close-up is perfect.
Start here: Contact Handy Home Repair
We’ll inspect the area, explain what’s failing and why, and give you a clear written estimate to get it sealed back up before the problem spreads.